The Wrap Belt Hack: 8 Gorgeous Ways to Tie It Like a Stylist
Before we dive into 8 chic ways to tie your wrap belt, let’s first talk about something just as important — where to place it to flatter your body shape.
ADA belts are incredibly versatile. You can style them over a flowy A-line dress, a loose blouse that needs a little waist definition, or even with your favorite jeans and a half-tucked top.


Once you discover your ideal belt placement, you’ll find yourself reaching for your buttery-soft, luxe leather belt again and again — not just because it smells amazing, but because it instantly transforms every outfit.
There’s more than one way to tie a belt — and definitely more stylish ways than tying it like your shoes.
- Hold the smiley face up
- Grab your wrap belt
- And get ready to twist, loop, and play!

TRANSFORMATION
With these 8 easy ways to tie a belt, you’ll discover how a simple accessory can completely transform your look.


ROSETTE KNOT
One of our customer's favorite knots.
Start with the widest part of the belt, bring both ends to the front, wrap one end around the other, circle towards yourself and tuck in to bun.
OCHO KNOT
How to tie a belt like this? Easy!
Start with the widest part of the belt, bring both ends to the front, criss cross, pinch ends, tuck in the back.
MEN'S TIE
Start with the widest part of the belt, bring both ends to the front, wrap once, pull back, pull through front, adjust. Ready, you now know another way to tie the belt.
RIGHT KNOT
One of the easiest ways to tie a belt.
Start with the widest part of the belt, bring both ends to the front, tie, tie again, pull the right end through.
SMOOTH MOVE KNOT
Start with the widest part of the belt, bring both ends to the front, and bring again to the back...tie a belt!
ROLLIE KNOT
Start with the wide part in front, criss cross the tails in the back bringing it to the front again, criss cross again and roll one tie to its opposite tie. Repeat to the other rolling all the way across the front. It doesn’t need to be tied in the back and it still stays completely secure! :)
LOOP KNOT
Place the wider portion of the belt in front (smile up, remember?)
First of all, bring ties to the front, place one tie in front of the other, feed the top tie to the back and pull tightly forming a knot.
Criss cross the ties and take the top tie and form a loop and feed it through the hole. Pull the loop and tie to tighten to belt.
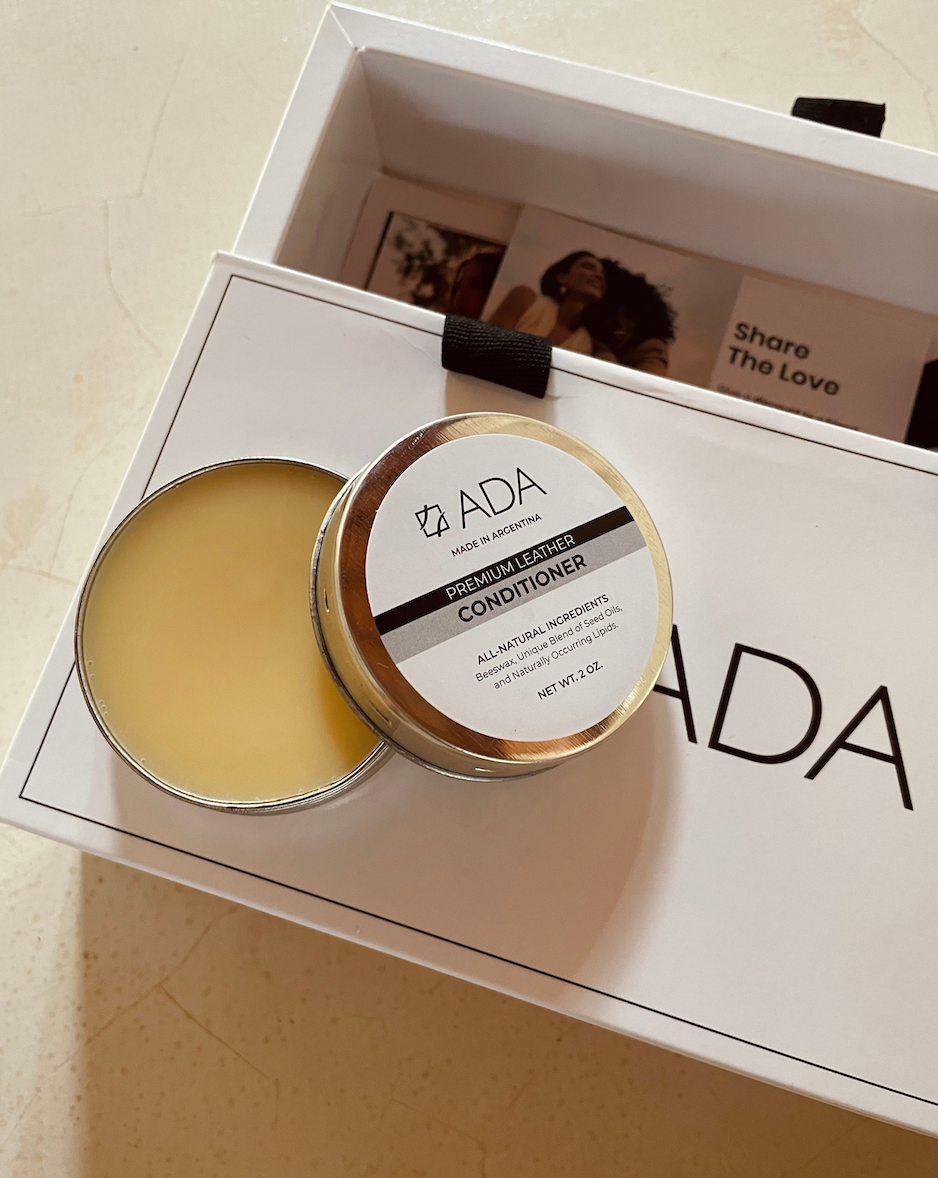
Leather Care
Our belts are crafted with care by dedicated professionals. To ensure you continue to give them the same attention we put into making them until they reach you, we always provide tips on how to care for them.
One essential care tip to keep your belt looking stunning is periodic leather cleaning, preventing impurities from getting embedded in the belt. Our leather cleaner is fragrant and removes dirt with natural waxes. It should be applied to the surface of our belts' leather with a soft cloth.


4 comments
Your videos are inspiring!! Sadly for me, I’m too stupid to be able to follow what the models are doing as they tie each knot so quickly and I cannot really figure out how they do what they do. But for someone who can make this work, the belt will look very nice. It is kind of a sad fail on me.
Stephanie Kirkman
I’m never seeing the back views and how to finish securing the belt in back? Can you show that in a video please
Alexandra kowalski
thank you for the great post, I had no idea there were so many options!
anna
Nice post you have here! I gain a lot the new ideas you present in this article. Thanks once again.
ochuko evidence
Leave a comment
This site is protected by hCaptcha and the hCaptcha Privacy Policy and Terms of Service apply.